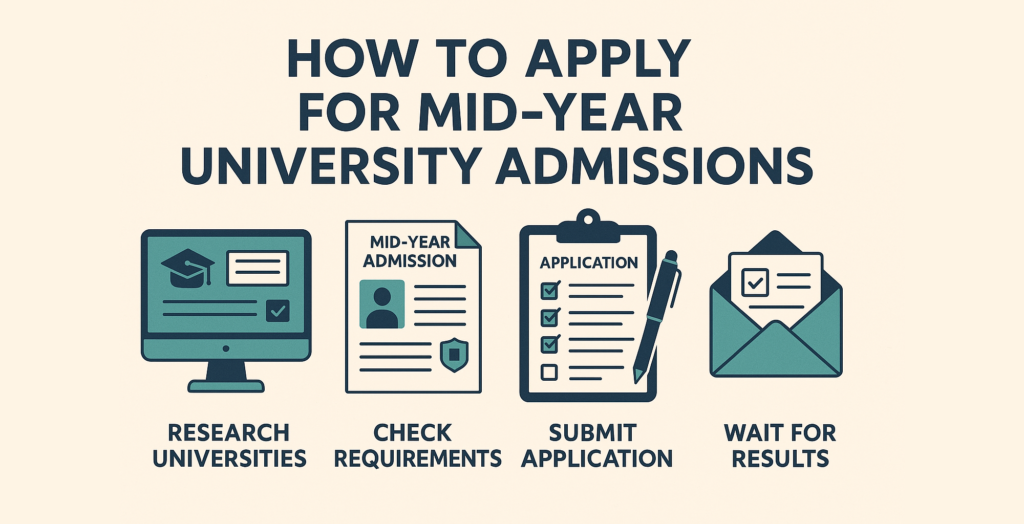
How to Apply for Mid-Year University Admissions
Not everyone starts university at the beginning of the year. Some students apply for what’s called mid-year admission, which just means starting a course in the middle of the academic year instead of the start.
Maybe you missed the earlier intake, changed your plans, or decided late that you want to go to uni. That’s okay. Mid-year entry is there for situations like this. And no—it’s not harder or more confusing. You just need to follow a few clear steps. Let’s go through them.

What Is Mid-Year Admission?
Mid-year admission allows students to begin their university studies around June, July, or August, depending on the country and the course. Most students start in February or March, but universities often offer some courses in the middle of the year too.
This gives students a second opportunity if they couldn’t (or didn’t) apply earlier.
Who Should Think About Mid-Year Admission?
Mid-year intake is helpful for students who:
-
Missed the main application round
-
Changed their minds about a course or uni
-
Took a break after high school or college
-
Didn’t get the course they wanted earlier
-
Just got their visa approved (for international students)
It’s also great for anyone who doesn’t want to wait another full year to start studying.
How to Apply for Mid-Year Admission – Step by Step
You don’t need to be an expert. Just follow these basic steps, and you’ll be on your way.
Step 1: Choose the Right Course and University
Start by picking a course you actually want to study. It could be nursing, IT, law, teaching—whatever fits your interest. Then check which universities offer that course mid-year. Not all courses have a July intake, so double-check the details.
Go to the university’s official website and search for terms like:
-
“Mid-year intake”
-
“July intake”
-
“Semester 2 admission”
If it’s there, you’re good to go.
Step 2: Check the Entry Requirements
Every course and university has its own list of what they need from students. Some might look at your high school results (like ATAR or GPA), and others may also ask for an English language test like IELTS or TOEFL if you’re an international student.
Common requirements include:
-
Final high school marks or previous qualifications
-
English language test results
-
Academic records or transcripts
-
A short personal statement (for some courses)
-
A portfolio (if applying for something like design or art)
It’s important to read through the course details carefully.
Step 3: Gather All Your Documents
Now that you know what you need, start putting it all together. Most universities ask for:
-
Academic transcripts or report cards
-
English test results (if required)
-
A copy of your passport or ID
-
Personal statement (if requested)
-
Resume or certificates (only for some courses)
Try to keep digital copies saved in one folder so they’re ready to upload when needed.
Step 4: Apply Through the Correct Platform
Different universities use different systems. Some use a central platform, and others accept applications directly.
For example:
-
In Australia, you can apply via UAC, VTAC, or directly on the university’s site.
-
In the UK, most people apply using UCAS.
-
Many other universities around the world have their online application forms.
If you’re confused, just go to the university’s official site and check the “Apply” or “Admissions” section.
Step 5: Write Your Personal Statement (If Needed)
Some courses want to know a bit about you. That’s where the personal statement comes in. This isn’t a test. Just write honestly about:
-
Why do you want to study the course
-
What do you like about the subject
-
Your goals or plans
-
Why did you pick that university
Keep it simple and clear—about 300 to 500 words. Don’t worry about sounding fancy. Just be real.
Step 6: Submit Your Application Before the Deadline
Each university sets its deadline. Many mid-year deadlines fall between April and June, but some are earlier or later. Always double-check.
Make sure you:
-
Submit early (just in case there’s a technical issue)
-
Check everything before clicking submit
-
Keep a copy of the confirmation email
Once your application is sent, you just need to wait for a response.
Step 7: Wait for the Offer Letter
After reviewing your application, the university will let you know if you’ve been accepted. If they say yes, you’ll get an offer letter.
There are two types:
-
Conditional offer – You’re accepted if you meet certain things (like final marks or English test scores).
-
Unconditional offer – You’re fully accepted with no extra steps.
Read the letter properly and follow the instructions to accept the offer.
Step 8: Accept the Offer and Finalise Enrollment
To lock in your spot, you usually need to:
-
Accept the offer officially
-
Pay the deposit or fees
-
Pick your classes or units
-
Join orientation (either online or on campus)
Once that’s done, you’re ready to begin.
A Few Extra Tips
-
Not all courses are open for mid-year intake. Always check before getting too far in.
-
Apply early. Some courses fill up fast.
-
International students—check visa processing times so you’re not delayed.
-
Don’t be afraid to ask questions. Universities have staff to help you.
-
Keep checking your email after you apply.
Can You Get Help with All This?
Yes. A lot of students find the process confusing, especially when writing personal statements or gathering documents. That’s where support services come in. If you need help with writing, checking grammar, or preparing your documents, a good service can make things easier. One student-friendly option is: Online Assignments Help. They help students write better personal statements, improve their academic writing, and understand how to put together strong applications.


